
Quick answer: Angular testing runs on Vitest, the CLI’s default test runner, with jsdom providing a DOM in Node. Write tests beside the code in .spec.ts files, run them with ng test, and use TestBed to configure and create components and services. Debug with the browser DevTools, Angular DevTools, and breakpoints in the sources panel.
Table of Contents
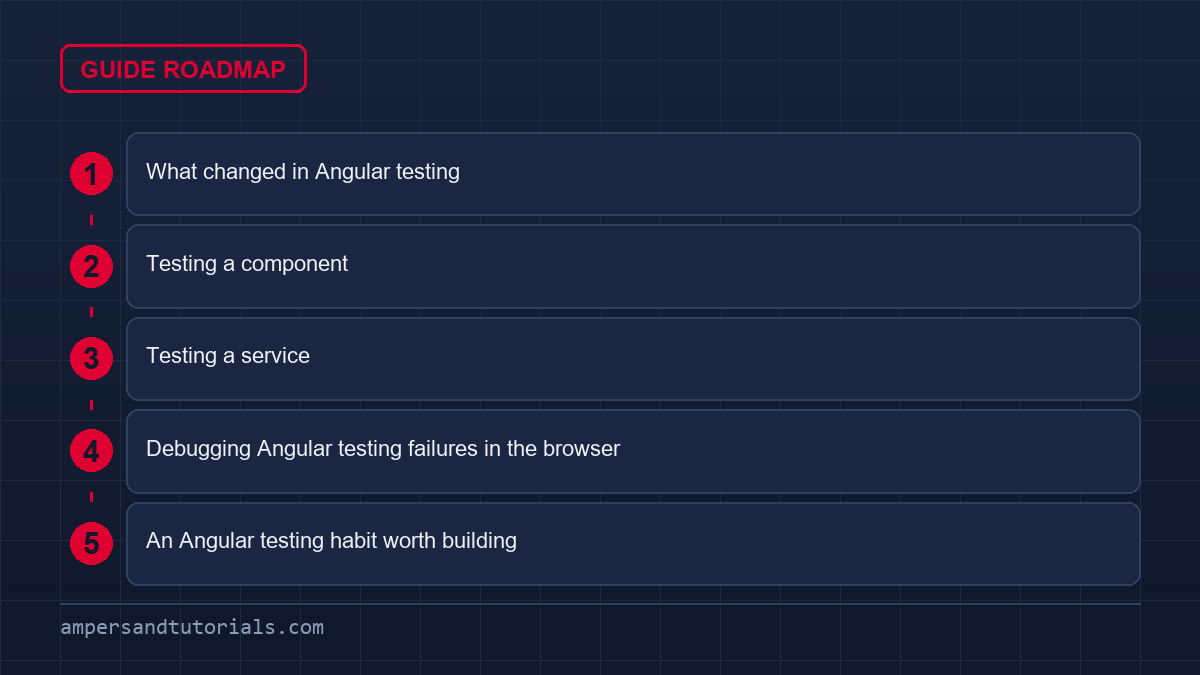
What changed in Angular testing
For years Angular tests ran on Karma and Jasmine in a real browser. New projects now default to Vitest running on jsdom, which starts faster and integrates with the modern toolchain. Karma is still supported if you select it — ng new my-app --test-runner=karma — so you can keep the old setup, but Vitest is where new work happens.
Testing a component
TestBed configures a test module and creates the component. Standalone components are configured the same way they are used: pass them to imports.
import { TestBed } from '@angular/core/testing';
import { CounterComponent } from './counter.component';

describe('CounterComponent', () => {
  beforeEach(async () => {
    await TestBed.configureTestingModule({
      imports: [CounterComponent],
    }).compileComponents();
  });

  it('increments the count when clicked', () => {
    const fixture = TestBed.createComponent(CounterComponent);
    const el = fixture.nativeElement as HTMLElement;
    fixture.detectChanges();

    el.querySelector('button')!.click();
    fixture.detectChanges();

    expect(el.textContent).toContain('Count: 1');
  });
});
Two calls do the work: createComponent builds the component and its template, and detectChanges runs change detection so the DOM reflects the current state. Click the real element, run change detection again, and assert on the rendered text — that is a component test in full.
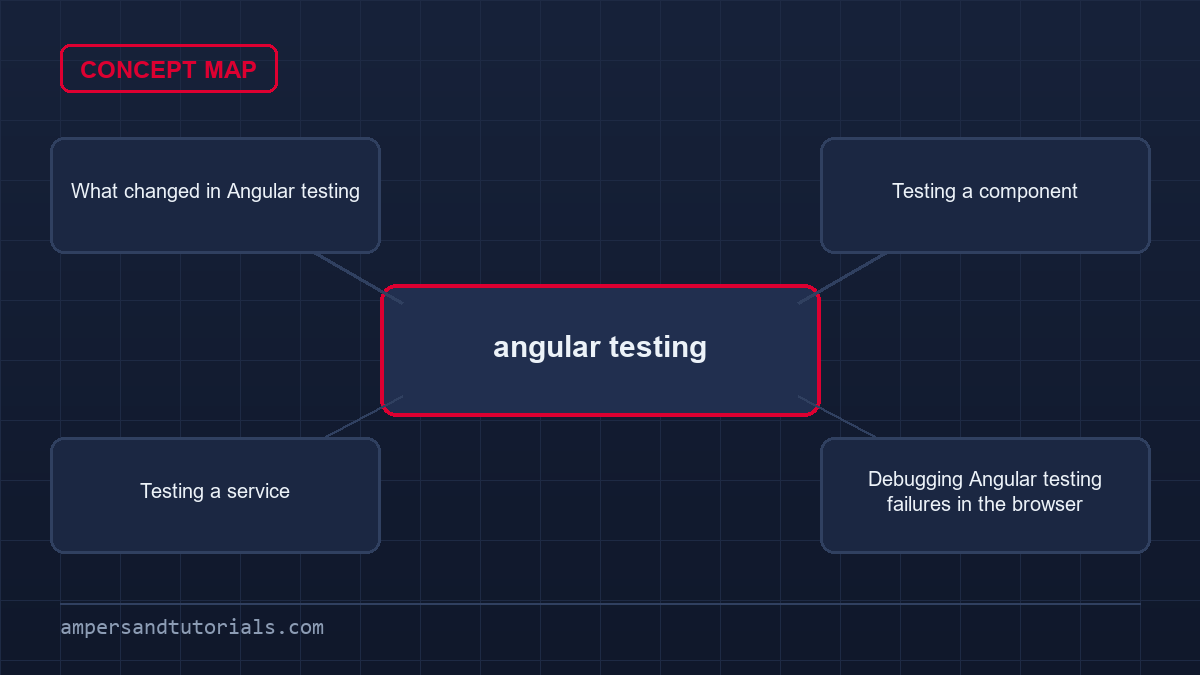
Testing a service
Services are plain classes, so most need no DOM and almost no setup. When a service depends on HttpClient, provide a testing backend so no real request leaves the machine.
import { TestBed } from '@angular/core/testing';
import { provideHttpClient } from '@angular/common/http';
import { provideHttpClientTesting, HttpTestingController } from '@angular/common/http/testing';
import { ProductService } from './product.service';

describe('ProductService', () => {
  let service: ProductService;
  let httpMock: HttpTestingController;

  beforeEach(() => {
    TestBed.configureTestingModule({
      providers: [provideHttpClient(), provideHttpClientTesting()],
    });
    service = TestBed.inject(ProductService);
    httpMock = TestBed.inject(HttpTestingController);
  });

  afterEach(() => httpMock.verify());

  it('fetches products', () => {
    let result: unknown;
    service.get(1).subscribe(p => (result = p));

    const req = httpMock.expectOne('/api/products/1');
    expect(req.request.method).toBe('GET');
    req.flush({ id: 1, name: 'Widget', price: 9.99 });

    expect(result).toEqual({ id: 1, name: 'Widget', price: 9.99 });
  });
});
The testing backend records every request so you can assert on the URL and method, then flush a fake response.
httpMock.verify() in afterEach fails the test if a request was left outstanding — a quick way to catch code that forgets to subscribe.
Debugging Angular testing failures in the browser
- Angular DevTools — a browser extension that shows the component tree, the inputs of each component and the change-detection cycles it triggered.
- Sources panel breakpoints — since the dev build is served unminified, you can set a breakpoint in a component method and inspect the call stack, signals and injected services.
{{ value | json }}— the fastest way to see what an object really contains when the rendered output is unclear.- Network tab — confirm the request your service sends: URL, headers and payload. Most API bugs are visible here before any code changes.
An Angular testing habit worth building
Test the logic you are most afraid to change: a price calculation, a permission check, a state transition. Those tests pay for themselves every refactor. Do not chase coverage for its own sake — a handful of meaningful tests beats a hundred assertions on generated code. See performance and deployment next, where tests guard the build you ship.
Want to learn testing on a real Angular codebase rather than toy examples? Ampersand Academy teaches Angular one-to-one.
Angular testing with signals and computed values
Modern state management relies heavily on reactive primitives rather than classic zone-based property mutation. When you conduct angular testing against components built with signal inputs and computed values, the update mechanics differ from traditional property bindings. Signal inputs declared via the input() function cannot be assigned directly like plain class fields. You update them during tests using the ComponentRef.setInput() method or by wrapping the component in a test host.
Testing computed signals in isolation does not require mounting a full DOM template. Because a computed signal evaluates lazily and memoizes its outcome, reading its value directly verifies the transformation immediately. You instantiate the class, write new values to the source writable signal, and read the computed signal. The calculation executes synchronously without requiring manual change detection calls or fixture creation.
Side effects created through the effect() function introduce asynchronous scheduling that can mislead an angular testing suite. Angular schedules effects to run as microtasks whenever signal dependencies emit new values. In test environments, effects do not run automatically between lines of code unless you notify the framework. Call TestBed.flushEffects() explicitly when your assertion inspects external state modified by an effect callback.
import { Component, computed, effect, input, signal } from '@angular/core';
import { TestBed } from '@angular/core/testing';

@Component({
  standalone: true,
  selector: 'app-user-badge',
  template: `<span>{{ displayName() }}</span>`
})
export class UserBadgeComponent {
  readonly role = input<string>('guest');
  readonly points = signal<number>(0);
  readonly displayName = computed(() => `${this.role()}: ${this.points()} pts`);
  auditLogged = false;

  constructor() {
    effect(() => {
      if (this.points() > 100) {
        this.auditLogged = true;
      }
    });
  }
}
import { Component, computed, effect, input, signal } from '@angular/core';
import { TestBed } from '@angular/core/testing';@Component({
standalone: true,
selector: 'app-user-badge',
template: `<span>{{ displayName() }}</span>`
})
export class UserBadgeComponent {
readonly role = input<string>('guest');
readonly points = signal<number>(0);
readonly displayName = computed(() => `${this.role()}: ${this.points()} pts`);
auditLogged = false;constructor() {
effect(() => {
if (this.points() > 100) {
this.auditLogged = true;
}
});
}
}
To verify this component, create the fixture and extract the component reference to supply input values. Calling fixture.componentRef.setInput('role', 'admin') triggers the input update pipeline correctly. You then modify writable signals directly and run change detection to synchronize template bindings with the updated reactive graph.
Here is the test implementation that validates both the computed calculation and the asynchronous effect execution. Maintaining this discipline prevents subtle race conditions in your broader angular testing pipeline.
describe('UserBadgeComponent', () => {
  it('updates computed text and executes effect on threshold', () => {
    const fixture = TestBed.createComponent(UserBadgeComponent);
    const comp = fixture.componentInstance;

    fixture.componentRef.setInput('role', 'admin');
    comp.points.set(150);
    TestBed.flushEffects();
    fixture.detectChanges();

    expect(comp.displayName()).toBe('admin: 150 pts');
    expect(comp.auditLogged).toBe(true);
  });
});
describe('UserBadgeComponent', () => {
it('updates computed text and executes effect on threshold', () => {
const fixture = TestBed.createComponent(UserBadgeComponent);
const comp = fixture.componentInstance;fixture.componentRef.setInput('role', 'admin');
comp.points.set(150);
TestBed.flushEffects();
fixture.detectChanges();expect(comp.displayName()).toBe('admin: 150 pts');
expect(comp.auditLogged).toBe(true);
});
});
Notice how TestBed.flushEffects() executes before checking the audit property. Without that call, the assertion can fail intermittently depending on whether the test runner processes microtasks before or after the assertion block.
Model signals created using model() require dual testing. Because model signals support two-way binding, tests must confirm both input propagation and output emission. When a component modifies a model signal via update(), verify that the corresponding output event fires with the new value.
Testing routing guards and navigation resolvers
Modern routing implementations rely on functional guards and functional resolvers rather than class-based services. Setting up route assertions inside an angular testing workflow previously required mocking entire router classes and location state. Today, the Angular router package provides first-class testing helpers that run real navigation lifecycles inside memory without opening browser windows.
The recommended entry point for router integration tests is RouterTestingHarness combined with provideRouter. Instead of constructing manual URL strings and inspecting history state, the test harness initializes the router, tracks internal state transitions, and renders the matched route component directly into a testing outlet.
Testing isolated functional guards does not even require rendering components or setting up router outlets. Because functional guards rely on the inject function, you evaluate them inside your angular testing suite using TestBed.runInInjectionContext(). This technique executes the guard within an active injector context, allowing inject(AuthService) or inject(Router) to resolve properly.
Consider an authentication guard that inspects user session status and returns a boolean or a redirect UrlTree. You configure minimal mock providers for your authentication service, execute the guard inside the injection context, and assert against the return value synchronously or asynchronously.
When navigation resolvers fetch data before page transitions finish, the harness ensures data arrives before assertions evaluate. Incorporating real resolver validation into regular angular testing guarantees that route parameters map correctly to service calls and that broken resolvers fail builds before production deployment.
import { TestBed } from '@angular/core/testing';
import { Router, UrlTree } from '@angular/router';
import { authGuard } from './auth.guard';
import { AuthService } from './auth.service';

describe('authGuard', () => {
  it('redirects unauthenticated users to login', () => {
    const authSpy = { isAuthenticated: () => false };
    TestBed.configureTestingModule({
      providers: [
        { provide: AuthService, useValue: authSpy },
        { provide: Router, useValue: { parseUrl: (url: string) => ({ url } as UrlTree) } }
      ]
    });

    const result = TestBed.runInInjectionContext(() =>
      authGuard({} as any, { url: '/admin' } as any)
    );

    expect(result).toEqual({ url: '/login' });
  });
});
import { TestBed } from '@angular/core/testing';
import { Router, UrlTree } from '@angular/router';
import { authGuard } from './auth.guard';
import { AuthService } from './auth.service';describe('authGuard', () => {
it('redirects unauthenticated users to login', () => {
const authSpy = { isAuthenticated: () => false };
TestBed.configureTestingModule({
providers: [
{ provide: AuthService, useValue: authSpy },
{ provide: Router, useValue: { parseUrl: (url: string) => ({ url } as UrlTree) } }
]
});const result = TestBed.runInInjectionContext(() =>
authGuard({} as any, { url: '/admin' } as any)
);expect(result).toEqual({ url: '/login' });
});
});
This pattern avoids the heavy overhead of loading full feature modules. Testing guards in this isolated manner provides rapid feedback, exercises exact redirection targets, and keeps execution times within milliseconds.
When you verify navigation parameters with RouterTestingHarness.create(), use harness.navigateByUrl('/items/42'). This method returns a Promise that settles only after all guards, resolvers, and child component creation routines complete, giving you a stable view of the final rendered component.
Validating reactive forms in angular testing workflows
Enterprise applications depend heavily on reactive forms for complex data capture, custom validation rules, and dynamic field dependencies. Validating these interfaces requires testing both the internal data model and the user-facing template representations. Asserting purely on FormGroup instances verifies business logic, while inspecting the DOM ensures error banners appear when inputs fail validation.
A frequent failure point in angular testing involves form control pristine and touched flags. Programmatic updates through formControl.setValue('test') do not automatically mark the control as touched. If your UI templates display validation messages based on control.invalid && control.touched, tests that omit control.markAsTouched() will miss rendering errors even when the underlying data is invalid.
Asynchronous validators present additional challenges because they return observables or promises that query remote servers. For example, verifying whether an email address is already registered requires waiting for the validation observable to emit. You must control the backend service mock, advance the testing clock, and run change detection before asserting on the form state.
Here are core strategies for testing reactive forms with high confidence:
- Test control validation rules in pure class tests without compiling component templates.
- Trigger native input events using
el.dispatchEvent(new Event('input'))when testing template-driven synchronization. - Always assert on control errors directly via
control.hasError('required')before asserting on DOM text. - Ensure disabled form controls are excluded from
formGroup.valueassertions or inspectformGroup.getRawValue()instead.
When you build reusable custom form controls implementing ControlValueAccessor, your angular testing must confirm both data directions. The control must write outside values into internal elements via writeValue() and register outward changes via registerOnChange() callbacks when users type.
Failing to test two-way communication in custom controls causes silent form submission failures. Adding focused angular testing routines around each accessor implementation guarantees that parent form groups receive accurate values, disabled states apply to native inputs, and blur events register properly.
Check both pristine states and disabled states explicitly during assertions. A form group that disables a child control strips that property from form.value, which often confuses assertions expecting the complete data payload. Using form.getRawValue() guarantees you inspect the full structure regardless of individual control disable flags.
Handling asynchronous timers with fakeAsync and tick
Asynchronous operations represent one of the most common sources of flakiness in an angular testing suite. Components regularly debounce search inputs with RxJS operators, delay toast notifications using setTimeout, or poll endpoints at intervals. Testing these time-dependent behaviors with real delays makes test suites slow and prone to timing inconsistencies across continuous integration servers.
The core framework testing utilities solve time manipulation through the fakeAsync zone and the tick utility. Wrapping your test body in fakeAsync executes asynchronous tasks in a special zone where time is simulated. Calling tick(300) advances virtual time by 300 milliseconds immediately without blocking JavaScript thread execution.
Consider a search input field connected to an RxJS pipeline that applies debounceTime(400) before triggering an API request. In standard execution, you would have to wait almost half a second for the emission. In a simulated zone, you type the query, call tick(400), and verify the HTTP mock instantaneously.
Clearing pending microtasks and macrotasks
A frequent failure message encountered during angular testing is Error: 1 periodic timer(s) still in the queue. This error happens when a component initiates an interval or timeout that does not resolve before the test ends. The testing zone tracks open timers and fails intentionally to prevent background leaks from polluting subsequent specs.
You resolve unresolved timer errors by flushing all remaining tasks before test completion. Calling flush() advances simulated time until all macrotasks resolve, while flushMicrotasks() drains pending promise resolutions. For recurring streams like interval(), ensure the component is destroyed via fixture.destroy() so its internal cleanup lifecycle unsubscribes from open observables.
When migrating tests toward zoneless architectures, native promises and standard async functions replace zone wrapping. Knowing when to use fakeAsync versus modern async-await remains essential for robust angular testing, especially as teams transition legacy codebases toward zoneless Angular primitives.
Prefer firstValueFrom over manual subscriptions when testing asynchronous observables with async-await. Wrapping an observable in firstValueFrom converts the first emission into a promise, allowing clean linear test execution without manual callback variables or nested subscribe calls.
Isolating DOM interactions using component harnesses
Direct DOM queries like fixture.nativeElement.querySelector('.btn-primary') tightly couple your test code to internal template markup. When a developer restructures template styling, replaces a native button with a custom element, or updates CSS class names, tests fail even though functional behavior remains unchanged. Modern angular testing resolves this fragility through the Component Test Harness pattern provided by the Angular CDK.
Component harnesses act as standardized page objects for UI components. A harness encapsulates the internal DOM structure and exposes user-oriented asynchronous methods such as click(), getValue(), or isOpen(). By interacting with a component solely through its harness, your tests reflect genuine user interactions rather than brittle implementation details.
To introduce harnesses into your angular testing routines, install @angular/cdk/testing and initialize the harness environment using TestbedHarnessEnvironment.loader(fixture). The loader discovers matching harnesses throughout the component DOM hierarchy and returns typed instances ready for interaction.
Filtering harness targets across child elements
Complex dashboards frequently render multiple instances of buttons, inputs, or dropdowns. Harnesses handle this using static filters configured with predicates. Instead of writing brittle index-based element selectors, you query harnesses by their visible label text, placeholder attribute, or custom test identifiers.
Writing custom harnesses for shared internal components creates a durable foundation for your team’s angular testing ecosystem. When the design system evolves, you update the internal selectors within the harness class once, and every consuming spec file across your organization continues passing without edits.
import { TestbedHarnessEnvironment } from '@angular/cdk/testing/testbed';
import { MatButtonHarness } from '@angular/material/button/testing';

it('submits order when user clicks submit button', async () => {
  const fixture = TestBed.createComponent(CheckoutComponent);
  const loader = TestbedHarnessEnvironment.loader(fixture);
  const submitBtn = await loader.getHarness(
    MatButtonHarness.with({ text: 'Submit Order' })
  );

  await submitBtn.click();
  expect(fixture.componentInstance.orderPlaced).toBe(true);
});
import { TestbedHarnessEnvironment } from '@angular/cdk/testing/testbed';
import { MatButtonHarness } from '@angular/material/button/testing';it('submits order when user clicks submit button', async () => {
const fixture = TestBed.createComponent(CheckoutComponent);
const loader = TestbedHarnessEnvironment.loader(fixture);
const submitBtn = await loader.getHarness(
MatButtonHarness.with({ text: 'Submit Order' })
);await submitBtn.click();
expect(fixture.componentInstance.orderPlaced).toBe(true);
});
Notice how the harness handles asynchronous execution automatically. Every action method returns a Promise that settles only after internal change detection cycles complete, removing the need for manual fixture.detectChanges() calls before each click or input.
Harnesses also bridge the gap between unit testing and end-to-end testing. Because harness implementations remain agnostic of the underlying test environment, you can reuse the exact same harness classes across Vitest unit tests and Playwright or Cypress end-to-end suites with minimal adaptation.
Mocking nested components and projected content
In complex component hierarchies, rendering every nested child component during unit tests inflates execution times and introduces cascading failures. When a child component breaks, tests for its parent should not fail if the parent’s logic is sound. Effective angular testing requires finding the right balance between isolated shallow unit tests and integrated component trees.
Standalone components declare their own imports directly, which alters how dependencies are overridden. If a child component performs heavy network requests or initial animations upon creation, you can substitute a lightweight dummy component in your test setup. A minimal stub component matching the child selector prevents unwanted side effects without complex mocking libraries.
Testing content projection with <ng-content> is another area where standard angular testing often breaks. When testing components that project content, you cannot verify projection simply by inspecting the component in isolation. The component does not control what gets projected into it; the consumer does.
To test projection properly, create a minimal host component in your test file that declares the target component and projects sample markup into its slots. This host-based technique confirms that multi-slot projections using CSS selectors route header, body, and footer fragments to their designated projection outlets.
Component-level providers declared in the providers array of a @Component decorator cannot be overridden through TestBed.configureTestingModule() alone. Because component injectors sit lower in the injector tree than the root testing module, you must invoke TestBed.overrideComponent() to replace component-scoped services with testing doubles. Maintaining this distinction avoids hours of frustrating debugging in enterprise angular testing setups.
TestBed.overrideComponent(DashboardComponent, {
  set: {
    providers: [
      { provide: AnalyticsService, useValue: mockAnalyticsService }
    ]
  }
});
TestBed.overrideComponent(DashboardComponent, {
set: {
providers: [
{ provide: AnalyticsService, useValue: mockAnalyticsService }
]
}
});
This pattern ensures the mock service binds directly to the component instance rather than being shadowed by the real provider declared in the decorator metadata. Applying targeted overrides keeps tests fast, deterministic, and isolated from external side effects.
Avoid using NO_ERRORS_SCHEMA to silence template compilation errors caused by unimported child components. While NO_ERRORS_SCHEMA allows tests to pass when elements are missing, it blinds the test runner to real template syntax mistakes, unclosed tags, and mistyped property bindings throughout your templates.
Frequently asked questions
What test runner does Angular use now?
New Angular projects default to Vitest, running on jsdom for a fast Node-based test loop. Karma and Jasmine are still supported if you select them when creating the project.
What is TestBed in Angular testing?
TestBed configures a test module and creates the components and services under test. Standalone components are passed to its imports array, the same way the app uses them.
How do I test a service that calls an API?
Provide provideHttpClient with provideHttpClientTesting, inject HttpTestingController, and assert on the recorded request before flushing a fake response.
Why does my component test show no DOM changes?
You probably forgot to call fixture.detectChanges() after changing state. The test DOM only updates when change detection runs.
What is Angular DevTools used for?
It shows the component tree, each component’s inputs and the change-detection activity, which makes it easy to see what re-rendered and why.
Last updated on · Written by Dinesh Kumar R