
Quick answer: An Angular component is a TypeScript class that owns a piece of the screen. Angular creates it, renders its template, and destroys it when the screen is done with it. Lifecycle hooks — ngOnInit, ngOnChanges, ngAfterViewInit, ngOnDestroy — let you run code at those moments. Most components need only ngOnInit and ngOnDestroy.The sections below take Angular components apart in the order you meet them in a real project: the class, the template and styles, the lifecycle hooks, and the two Angular components hooks you can usually skip. Animation callbacks sit on the same cycle: triggers fire start and done through these hooks, as the Angular animations guide shows.

Table of Contents

Anatomy of an Angular component
The @Component decorator gives Angular three facts about the class: the CSS selector it answers to, its template, and its styles. Everything else is ordinary TypeScript.
import { Component, input } from '@angular/core';

@Component({
  selector: 'app-badge',
  template: `<span class="badge">{{ label() }}</span>`,
  styles: `.badge { padding: 2px 8px; border-radius: 999px; background: #ccfbf1; }`,
})
export class BadgeComponent {
  label = input.required<string>();
}
You then use it in any template as <app-badge label="New" />. The selector is the element name; the inputs are the attributes.
Angular components: templates and styles, inline or separate files
Small components read well with inline template and styles. Once markup grows past a few dozen lines, split it into templateUrl and styleUrls — the files the CLI generates by default.
@Component({
  selector: 'app-dashboard',
  templateUrl: './dashboard.component.html',
  styleUrl: './dashboard.component.css',
})
export class DashboardComponent {}
Component styles are scoped. Angular adds a unique attribute to the template’s elements and rewrites the CSS to match, so a .card rule inside one component cannot leak into another. You get encapsulation without a naming convention such as BEM — though the utility-class approach used elsewhere on this site is a different, equally valid answer to the same problem.
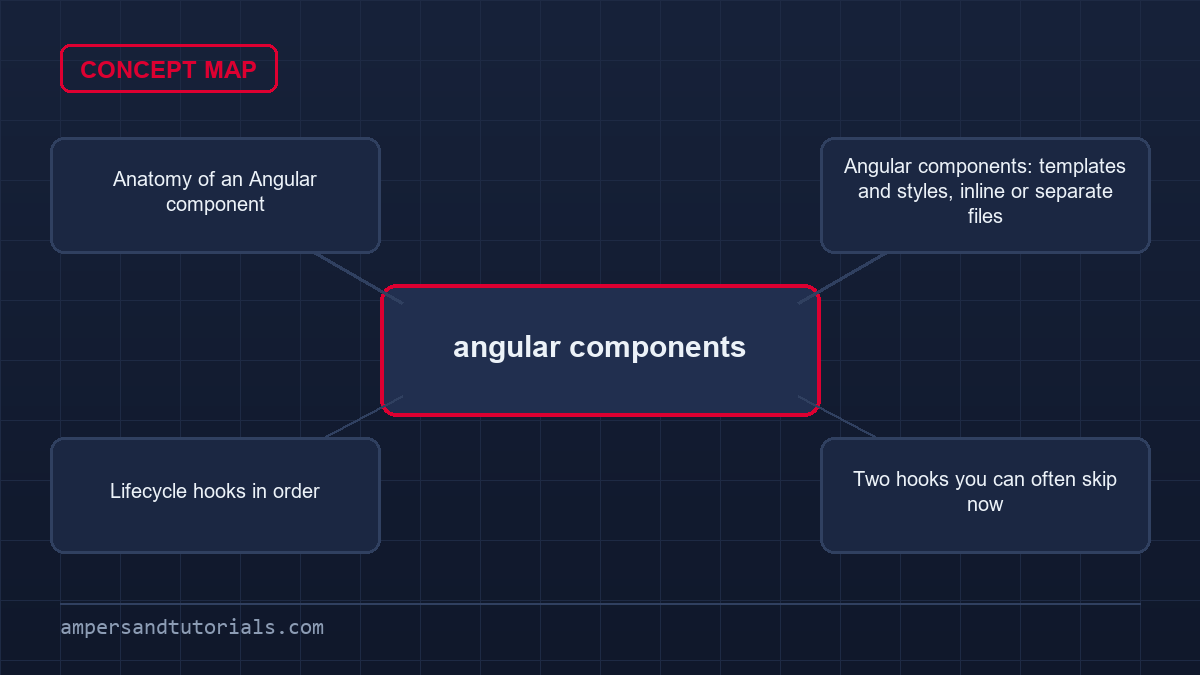
Lifecycle hooks in order
| Hook | Runs when | Typical use |
|---|---|---|
ngOnChanges | Before ngOnInit, and whenever an input changes | React to a changed input |
ngOnInit | Once, after the first input values are set | Fetch data, set up state |
ngAfterViewInit | After the component’s view renders | Measure the DOM, start a chart |
ngOnDestroy | Just before Angular removes the component | Cancel subscriptions, clear timers |
import { Component, OnInit, OnDestroy, inject } from '@angular/core';
import { ProductService } from './product.service';

@Component({ selector: 'app-products', template: `...` })
export class ProductsComponent implements OnInit, OnDestroy {
  private service = inject(ProductService);
  private timer?: ReturnType<typeof setInterval>;

  ngOnInit() {
    this.timer = setInterval(() => this.service.refresh(), 30000);
  }

  ngOnDestroy() {
    clearInterval(this.timer);
  }
}
The implements clause is optional but useful: it makes the compiler check the signature, so a typo in ngOnDestory becomes an error instead of a hook that silently never runs.
Two hooks you can often skip now
With signals, a lot of ngOnChanges code disappears. A computed() value recalculates automatically when its source changes, so you rarely need to react to an input manually.
import { Component, input, computed } from '@angular/core';

@Component({ selector: 'app-price', template: `{{ withTax() | currency }}` })
export class PriceComponent {
  amount = input.required<number>();
  withTax = computed(() => this.amount() * 1.2);
}
There is no hook here at all. When amount changes, withTax knows, because it depends on the signal. Reach for lifecycle hooks when you touch something outside Angular — a timer, an external widget, a subscription — and let signals handle pure derivation.
Continue the series with templates and data binding. To learn components hands-on, Ampersand Academy teaches Angular with real projects, one-to-one.
Angular components, change detection, and performance
Every Angular component sits inside a change-detection tree. By default, Angular walks that tree after every browser event, every timer tick, and every resolved promise. It checks each component’s template expressions and updates the DOM where something changed. For small apps this is invisible. For a component tree with hundreds of nodes it becomes a bottleneck you can measure.
The practical fix is ChangeDetectionStrategy.OnPush. Add it to the decorator and Angular skips the component entirely unless one of three things happens: an input reference changes, an event originates inside the component, or you trigger detection manually. Most presentational angular components — ones that only display data — qualify immediately.
import { Component, ChangeDetectionStrategy, input } from '@angular/core';

@Component({
  selector: 'app-stat-card',
  changeDetection: ChangeDetectionStrategy.OnPush,
  template: `
    <div class="card">
      <p class="label">{{ label() }}</p>
      <p class="value">{{ value() }}</p>
    </div>
  `,
  styles: `.card { padding: 1rem; border: 1px solid #e2e8f0; border-radius: 8px; }`
})
export class StatCardComponent {
  label = input.required<string>();
  value = input.required<number>();
}
import { Component, ChangeDetectionStrategy, input } from '@angular/core';@Component({
selector: 'app-stat-card',
changeDetection: ChangeDetectionStrategy.OnPush,
template: `
<div class="card">
<p class="label">{{ label() }}</p>
<p class="value">{{ value() }}</p>
</div>
`,
styles: `.card { padding: 1rem; border: 1px solid #e2e8f0; border-radius: 8px; }`
})
export class StatCardComponent {
label = input.required<string>();
value = input.required<number>();
}
Because StatCardComponent uses signals for its inputs and OnPush for detection, Angular checks it only when the signal values actually change. The component never does redundant work. Pair every leaf-level display component with OnPush as a default, and revisit the decision only when you need mutation-based state.
Signals deepen this story. Angular tracks signal reads during template evaluation and marks only the affected angular components dirty when a signal changes. With a fully signal-based component tree you get fine-grained reactivity without manual markForCheck calls or observable plumbing. The performance win compounds across large dashboards where dozens of components share a handful of signals.
Passing data between angular components
Parent-to-child data flow uses inputs. Child-to-parent communication uses outputs. These two mechanisms cover most real-world component interaction. The modern input() and output() functions from @angular/core replace the old decorator forms and work naturally with signals.
import { Component, input, output } from '@angular/core';

@Component({
  selector: 'app-quantity-picker',
  template: `
    <button (click)="decrement()">−</button>
    <span>{{ count() }}</span>
    <button (click)="increment()">+</button>
  `
})
export class QuantityPickerComponent {
  count = input.required<number>();
  countChange = output<number>();

  increment() { this.countChange.emit(this.count() + 1); }
  decrement() { this.countChange.emit(this.count() - 1); }
}
import { Component, input, output } from '@angular/core';@Component({
selector: 'app-quantity-picker',
template: `
<button (click)="decrement()">−</button>
<span>{{ count() }}</span>
<button (click)="increment()">+</button>
`
})
export class QuantityPickerComponent {
count = input.required<number>();
countChange = output<number>();increment() { this.countChange.emit(this.count() + 1); }
decrement() { this.countChange.emit(this.count() - 1); }
}
The parent binds [count]="qty" and (countChange)="qty = $event". The child never mutates the parent’s state directly; it emits and lets the parent decide. This one-way data flow keeps angular components predictable and individually testable, because each component’s output is a pure function of its inputs plus its internal events.
Deeply nested component trees expose a limit of this approach: prop-drilling. When a grandchild needs data owned by a grandparent, threading inputs through every intermediate layer is noisy. The answers are Angular’s dependency injection — a shared service injected at the right scope — or a signal store. Neither requires a third-party library; both are covered by the standard toolkit.
Content projection with ng-content
ng-content lets a parent component inject arbitrary markup into a child’s template without the child knowing what that markup is. This is how you build genuinely reusable container angular components: cards, modals, drawers. The child defines a slot; the parent fills it.
@Component({
  selector: 'app-panel',
  template: `
    <div class="panel">
      <div class="panel-header"><ng-content select="[slot=header]" /></div>
      <div class="panel-body"><ng-content /></div>
    </div>
  `
})
export class PanelComponent {}
@Component({
selector: 'app-panel',
template: `
<div class="panel">
<div class="panel-header"><ng-content select="[slot=header]" /></div>
<div class="panel-body"><ng-content /></div>
</div>
`
})
export class PanelComponent {}
Usage looks like this in the parent template: <app-panel><h2 slot="header">Title</h2><p>Body text.</p></app-panel>. The named slot receives the heading; the default slot receives everything else. Angular components built this way stay thin — they own layout and behaviour, not content — which makes them easy to reuse across feature modules.
Angular components and dependency injection
Every Angular component is itself an injection context. Services listed in a component’s providers array are scoped to that component’s subtree. A new instance is created when the component is created and destroyed when the component is destroyed. This is the correct scope for state that belongs to one feature, not the whole app.
Use inject() instead of constructor injection for new code. It is shorter, works in standalone components without any extra wiring, and reads clearly at the top of the class body alongside signal inputs. The two styles cannot be mixed in one class, so pick inject() for every new component and stay consistent.
A common pitfall: injecting a service that holds mutable state at providedIn: 'root' when that state should be per-instance. Two open instances of the same route then share state silently. Scope the service to the component by adding it to the component’s providers array, or use a signal that lives inside the component class itself. Angular’s injection tree makes the right scope expressible without any global store.
Scoped providers and lazy-loaded routes
Lazy-loaded route modules create their own injector. Angular components inside that module can inject services scoped to the module without polluting the root injector. The pattern is: declare the service in the route’s providers array, keep it off providedIn: 'root', and let Angular manage the lifetime. The service appears when the route loads and disappears when it unloads.
This matters for features like shopping carts, multi-step wizards, or any workflow with temporary state. Scoped injection is Angular’s built-in answer; you do not need a state-management library to handle feature-level state. Angular components that own their service scope are also easier to test in isolation — the test configures exactly the providers it needs.
Standalone angular components and the modern project structure
Since Angular 17, standalone is the default. A standalone component declares its own template dependencies — other angular components, directives, pipes — in its imports array rather than leaning on a shared NgModule. The result is a self-contained file that is easy to move, test, and lazy-load.
The migration path from module-based angular components to standalone is incremental. Run ng generate component --standalone for all new work. Existing module-based angular components stay functional; Angular supports both indefinitely. The schematic ng generate @angular/core:standalone automates the conversion when you are ready to commit the whole codebase.
Standalone components sharpen the question of where to put shared UI. The old answer was a SharedModule. The new answer is: import exactly the components you need directly. If five components share a ButtonComponent, each imports it explicitly. The explicitness is a feature — unused dependencies cannot hide inside a barrel module that nobody audits.
Folder structure follows naturally. Group files by feature, not by type. A checkout/ folder contains checkout-specific angular components, services, and pipes together. A ui/ or shared/ folder holds generic display components. Flat is fine until a feature grows beyond roughly eight files; only then introduce a subfolder. The goal is to open one folder and find everything a feature needs.
Testing angular components without the ceremony
The default testing scaffold Angular generates is TestBed-based. That is the right tool for integration tests that verify how several angular components interact. For a single component under test, the setup is lighter than it looks, and modern standalone components make it lighter still.
A minimal component test compiles the component in a test bed, queries the rendered DOM, and asserts on text or attribute values. No routing, no HTTP, no store — just the component and whatever inputs it needs. Keep tests at this level first. Add service mocks only when the component’s template behaviour depends on service-returned data that you want to control.
import { TestBed } from '@angular/core/testing';
import { BadgeComponent } from './badge.component';

describe('BadgeComponent', () => {
  it('renders the label', async () => {
    const fixture = TestBed.createComponent(BadgeComponent);
    fixture.componentRef.setInput('label', 'Sale');
    fixture.detectChanges();
    const span = fixture.nativeElement.querySelector('.badge');
    expect(span.textContent.trim()).toBe('Sale');
  });
});
import { TestBed } from '@angular/core/testing';
import { BadgeComponent } from './badge.component';describe('BadgeComponent', () => {
it('renders the label', async () => {
const fixture = TestBed.createComponent(BadgeComponent);
fixture.componentRef.setInput('label', 'Sale');
fixture.detectChanges();
const span = fixture.nativeElement.querySelector('.badge');
expect(span.textContent.trim()).toBe('Sale');
});
});
Signal-based angular components simplify testing because setInput() triggers signal updates and change detection propagates automatically on the next detectChanges() call. There is no need to manually poke ChangeDetectorRef. The test above is the complete test — no boilerplate module imports, no schema overrides, because the standalone component lists its own dependencies.
Test the contract, not the implementation. Assert on what the template renders, not on internal method calls. If you find yourself spying on private methods, the component is probably doing too much. Split it: extract a service for logic, keep the component responsible only for rendering and events. Angular components that are thin are angular components that are easy to test.
For components that use ngAfterViewInit to measure the DOM or initialise a third-party widget, use fixture.whenStable() or await fixture.whenRenderingDone() before asserting. These wait for all asynchronous lifecycle work to finish. Forgetting this step produces flaky tests that pass locally and fail in CI — a frustrating class of bug that a single await prevents.
Common mistakes in angular components and how to fix them
The most frequent mistake is doing too much in a single component. A component that fetches data, transforms it, and renders a complex template is hard to test, hard to reuse, and hard to reason about when something breaks. Split on responsibility: one smart component manages data, several dumb angular components display it. The split is usually obvious once you try to write a test and find the setup overwhelming.
Memory leaks from uncleared subscriptions are still common even in 2026. If you use RxJS inside angular components — for websocket feeds, router events, or anything not yet migrated to signals — always cancel in ngOnDestroy. The takeUntilDestroyed() operator from @angular/core/rxjs-interop is the clearest way: it ties the observable’s lifetime to the component’s without any manual subject teardown.
Overusing ngOnChanges is a smell. If you find yourself comparing currentValue and previousValue to derive displayed state, replace the input with a signal and use computed(). The existing sections of this article show this pattern with PriceComponent. The same logic applies to any pure derivation: signals handle it without a hook.
Forgetting OnPush on leaf components is a performance omission that is easy to overlook because the app still works correctly without it. Add a lint rule or a team convention: every component that receives only inputs and emits outputs gets OnPush by default. Revisit if you introduce imperative state that signals cannot easily cover. Angular components with OnPush plus signals make up the fastest component trees Angular can produce today.
A subtler mistake is placing business logic inside the template. Expressions like item.price * (1 - item.discount / 100) | currency inside a template binding are hard to test and repeated if the same calculation appears in multiple places. Move the derivation into a computed() signal or a method on the component class. Keep templates declarative: they should describe what to display, not compute it.
Finally, ignoring accessibility in custom angular components causes real harm and compliance risk. When you build a custom button, dropdown, or modal from a div, add the matching ARIA role, keyboard handlers, and focus management. Angular’s CDK provides FocusTrap, LiveAnnouncer, and overlay utilities that handle the hard parts. Accessibility is not optional polish; it is part of the component’s correctness requirement and belongs in the same test suite.
Frequently asked questions
What is the difference between ngOnInit and the constructor?
The constructor runs before Angular has set the component’s inputs. ngOnInit runs after the first set of inputs is available, so it is the right place to fetch data or read input values.
Do Angular component styles leak to other components?
No. Angular scopes a component’s styles to its own template by adding a unique attribute and rewriting the selectors, so rules stay inside the component.
When should I use ngOnDestroy?
Use ngOnDestroy to clean up anything outside Angular’s control: clear timers, cancel subscriptions and release external widgets. Skipping it causes memory leaks in single-page apps.
Should I use an inline template or a separate file?
Use an inline template for small components of a few dozen lines or less. Split into templateUrl and styleUrl once the markup grows, which is what the CLI generates by default.
Do I still need ngOnChanges with signals?
Often no. A computed signal recalculates automatically when its inputs change, so manual change handling is rarely needed. Keep ngOnChanges for non-signal inputs or imperative logic.
Last updated on · Written by Dinesh Kumar R