
Learn how to install R programming Language in your Windows or Linux or Mac.
Step 1: Search in Google with the keyword “R Download CRAN“

Step 2: Click and open the Cran R Project URL

Step 3: Inside the website click on the respective OS you have
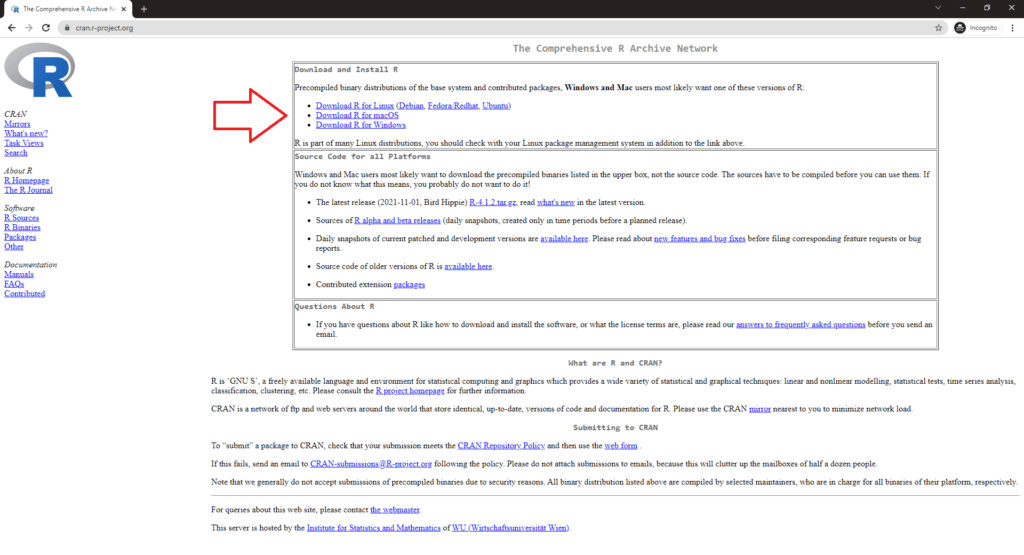
Step 4: Here we have Windows and we selected Windows as an option. Click on Install R for first time
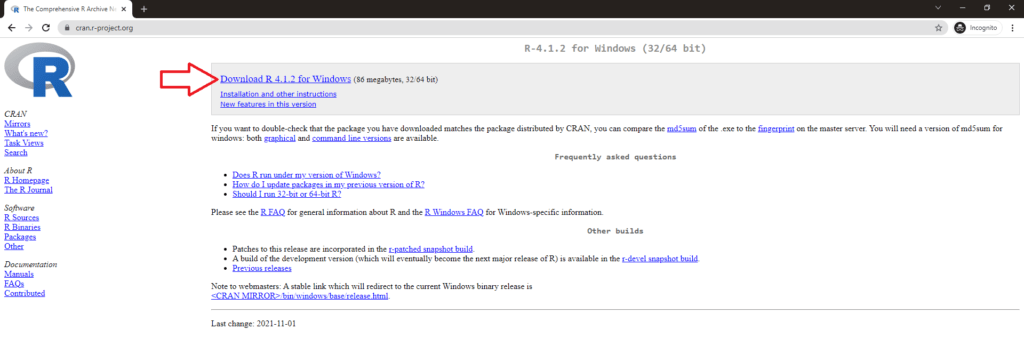
Step 5: Download the R using the first link
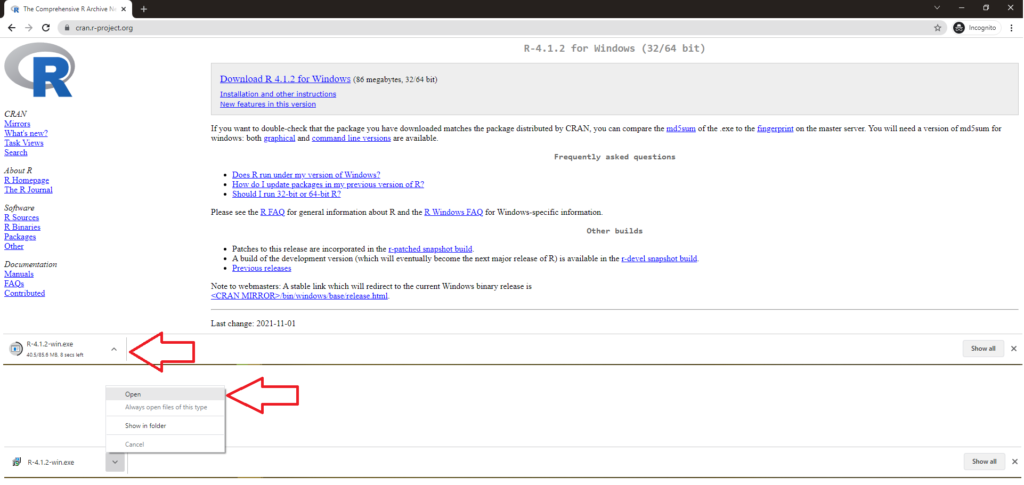
Step 6: Download will begin and you can see the download status in Chrome (if you’re using Chrome) at the bottom and once after downloading, click on the exe file to open the installation file
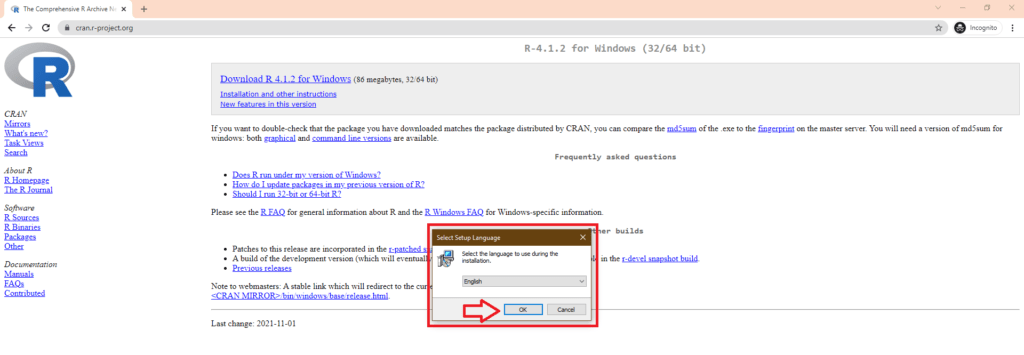
Step 7: Select English as language
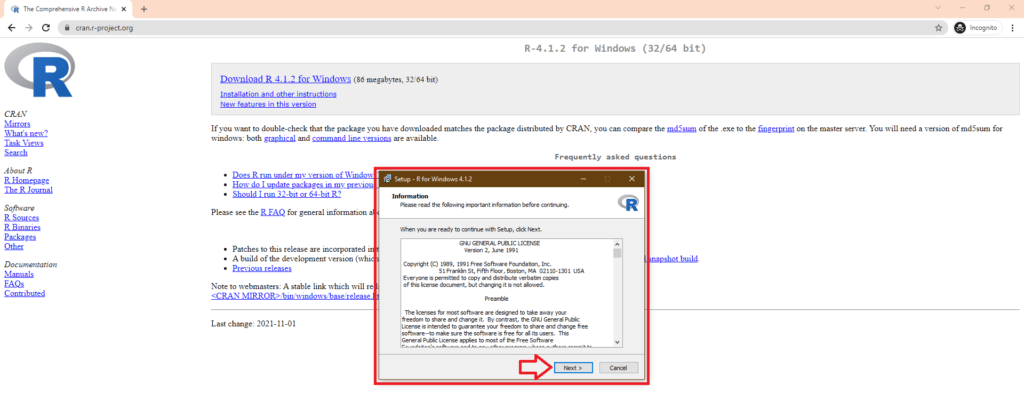
Step 8: Click on Next in General Public License section
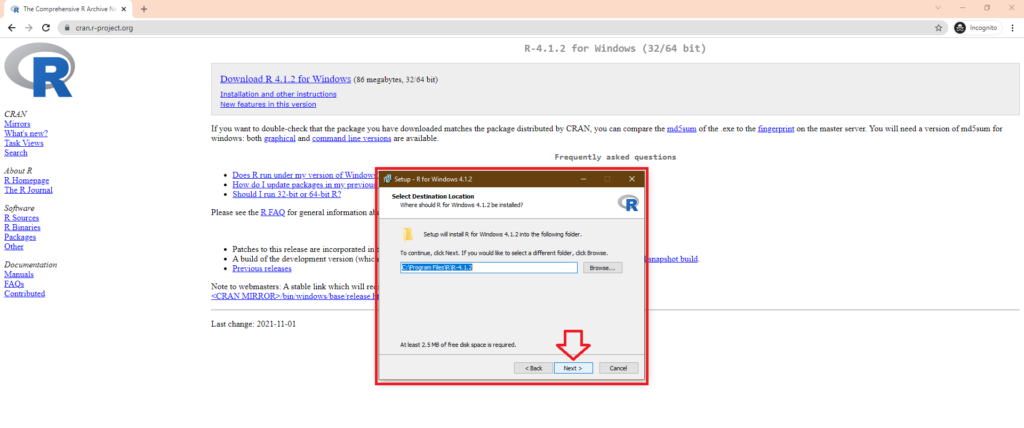
Step 9: Choose the default installation directory and click next or change the installation directory based on your preference
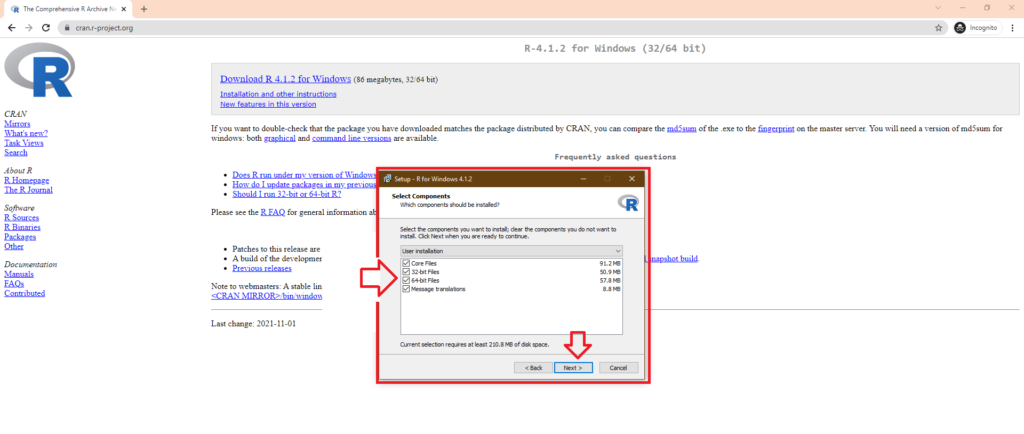
Step 10: Select Core R, both 32 and 64 bit and Message Translation based on your preference
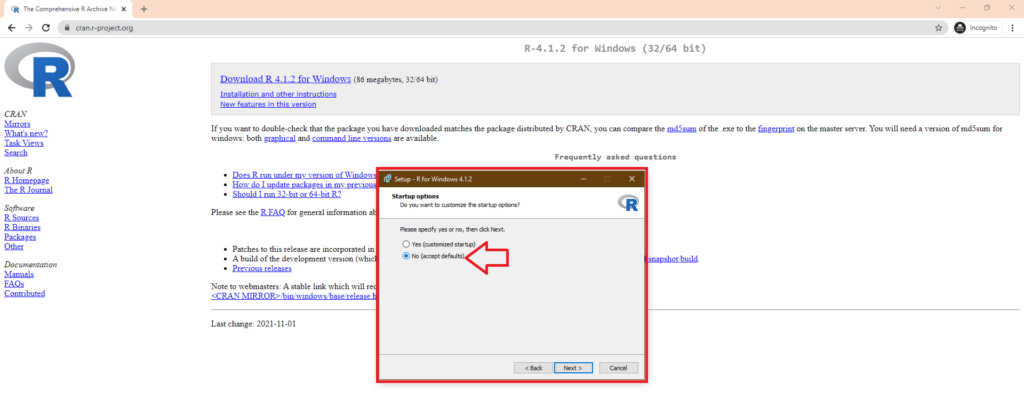
Step 11: Accept Defaults or customize based on your preference
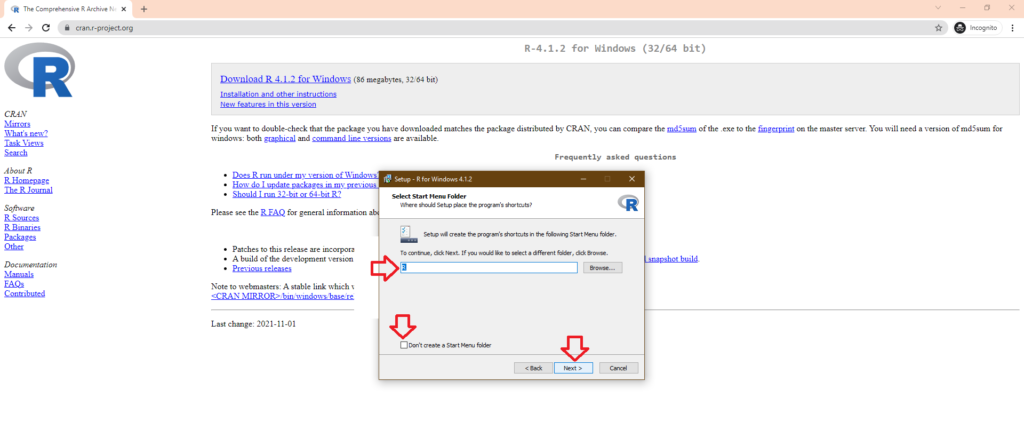
Step 12: Click next and if you Don’t want to create a folder in Startup
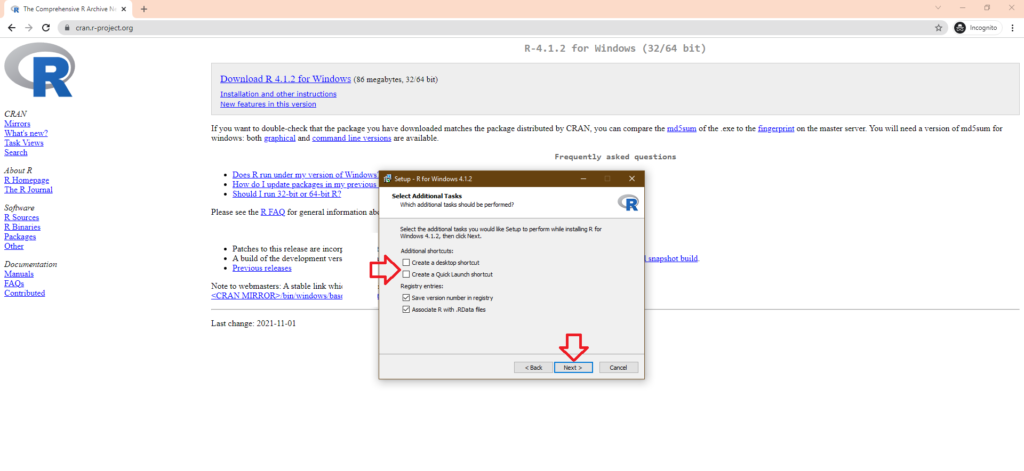
Step 13: Select Additional Tasks such as creating Registry entries
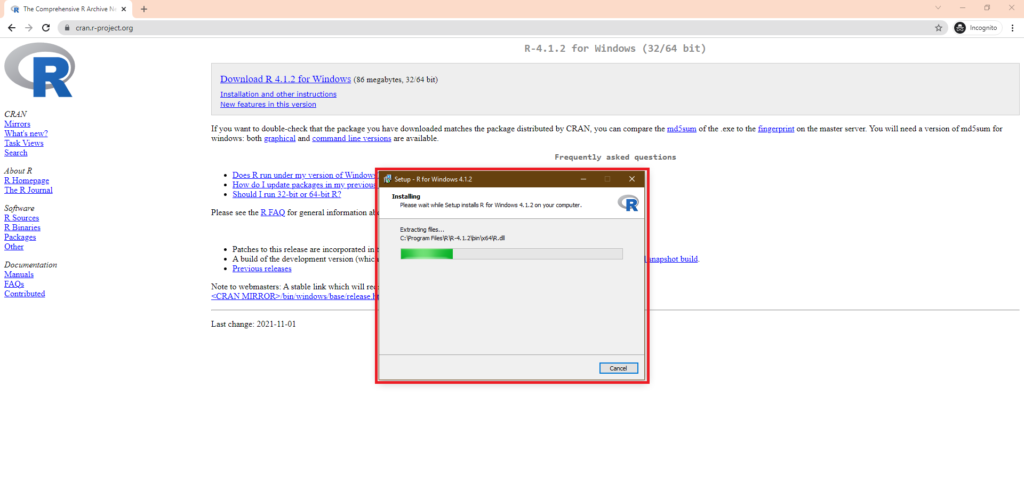
Step 14: Wait till the installation is over
Step 15: Installation is complete

Now that you have learnt How to install R. You can also check our tutorial on Installing SAS University. Check our