
Learn how to install Anaconda in Windows with these easy steps and get started with Python Analytics
What is Anaconda?
Anaconda is a distribution of the Python and R programming language for computing, that intends to work on bundling the executives and sending. The distribution incorporates data science packages reasonable for Windows, Linux, and macOS.
Here are the installation Steps:
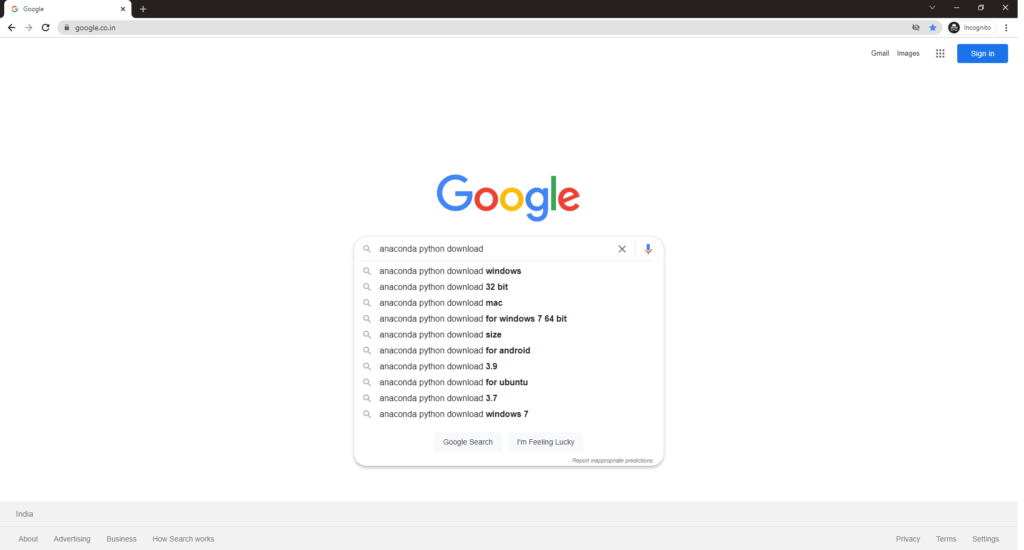
Step 1: Search in Google with the keyword “anaconda python download”
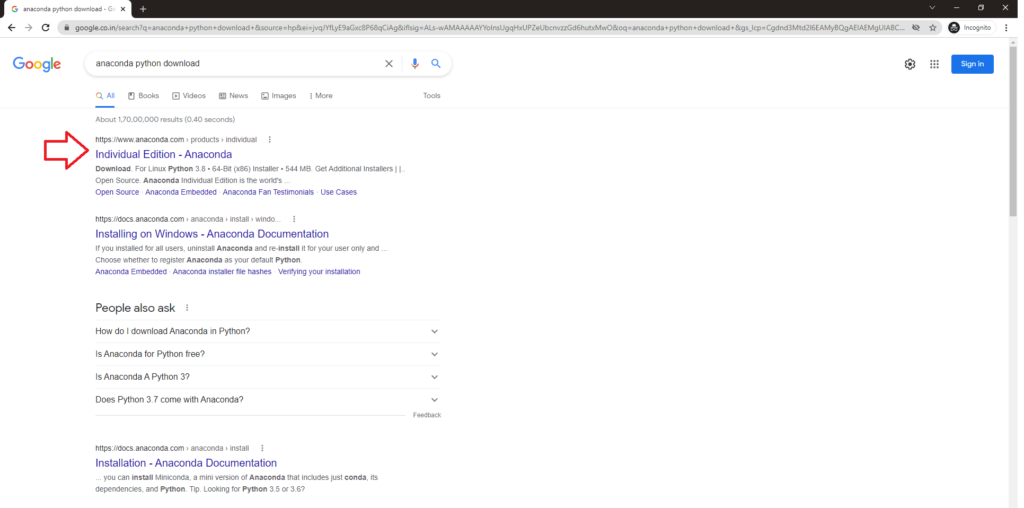
Step 2: Click on the first link “Individual Edition – Anaconda” from Anaconda.com website
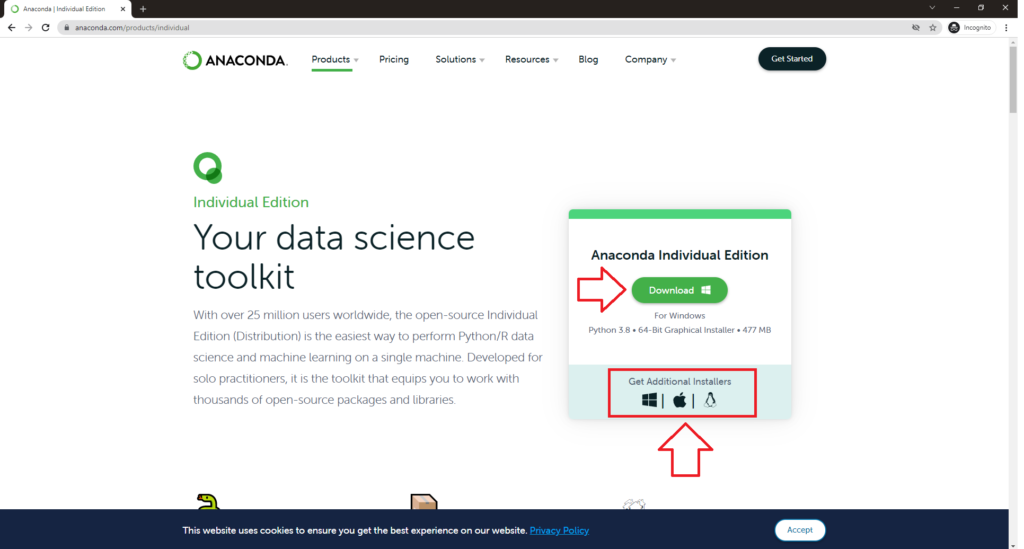
Step 3: Click on the Download button or choose to install for different OS from the option given below
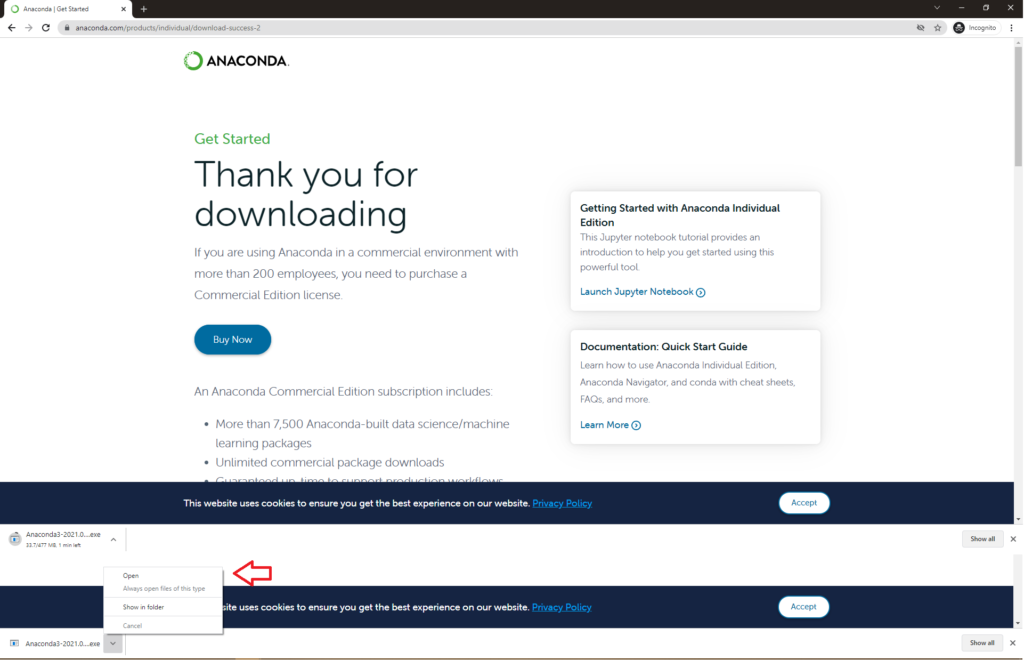
Step 4: You can see the download progress and click on Open Anaconda by clicking the file
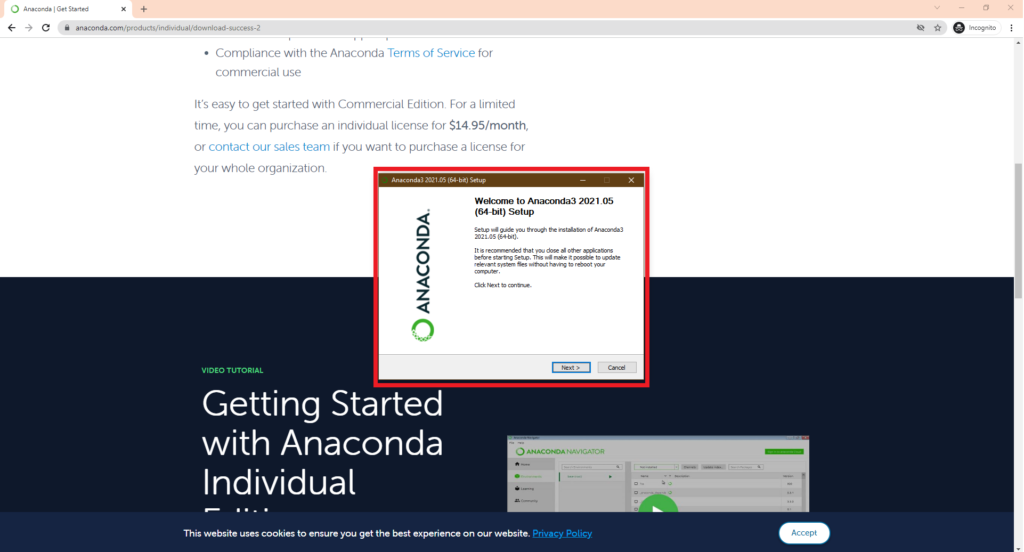
Step 5: Click on the Next button in Anaconda Installation steps
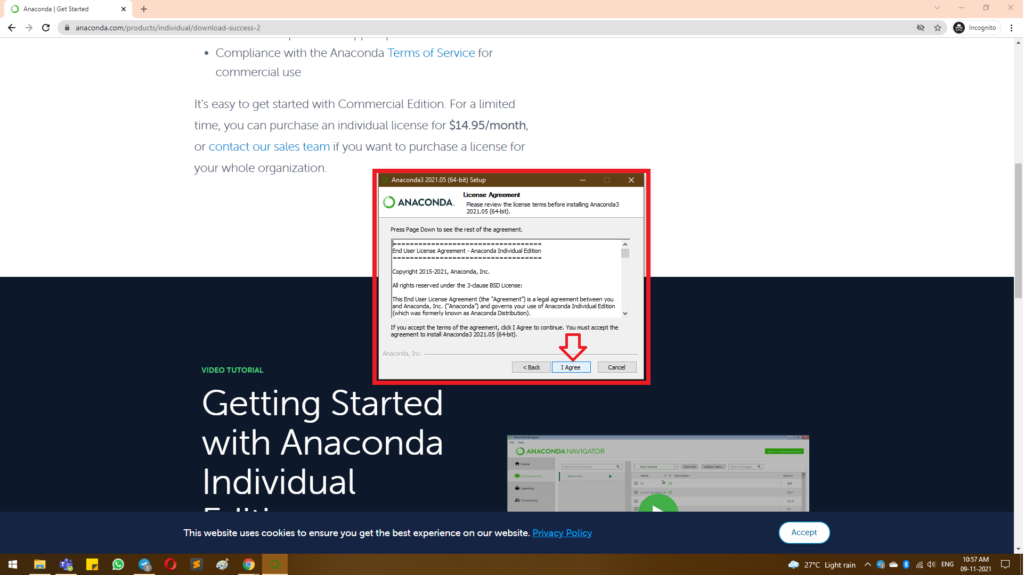
Step 6: Click on I Agree for Licence Agreement Screen in Anaconda Installation
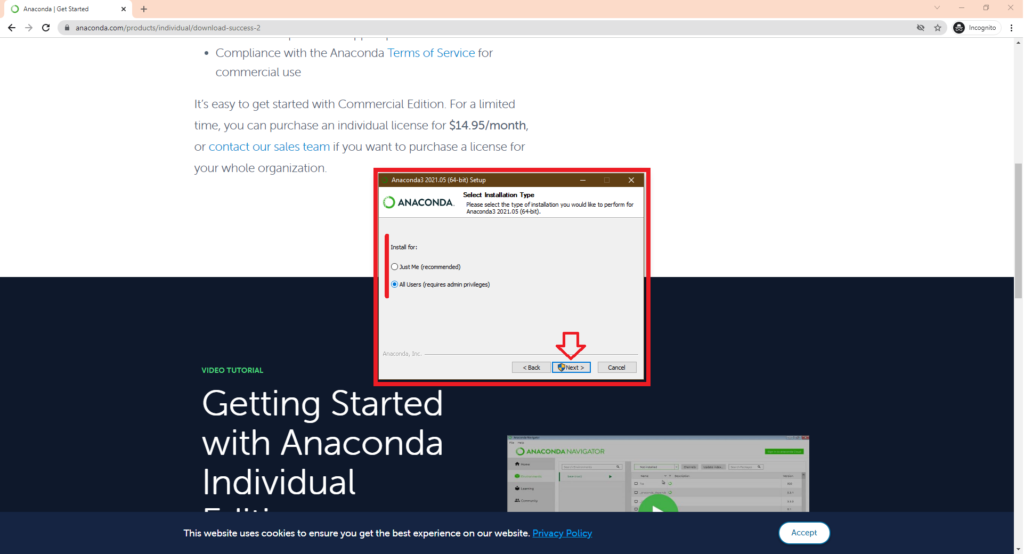
Step 7: Select for all user or Just me based on your preference and click next
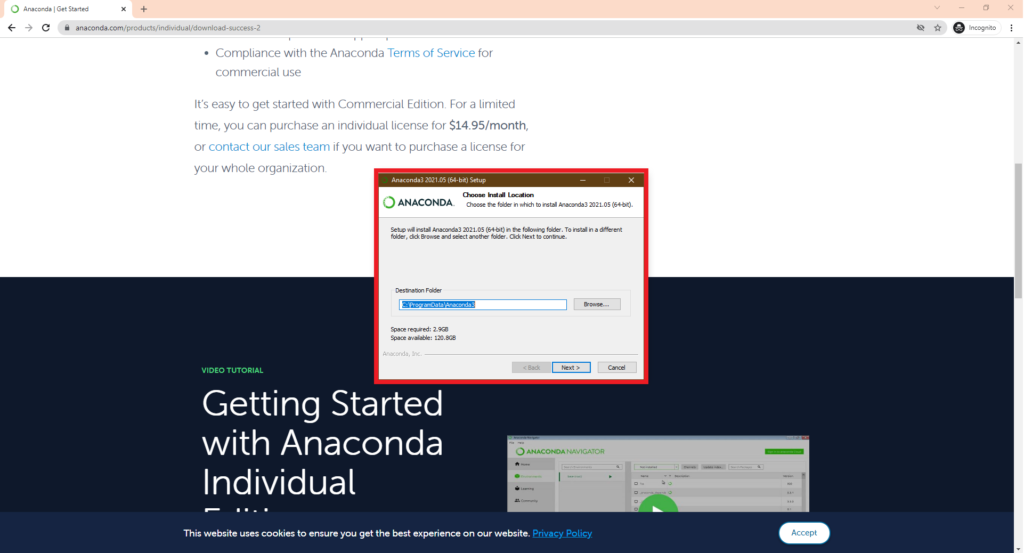
Step 8: Click Next on path or change the path
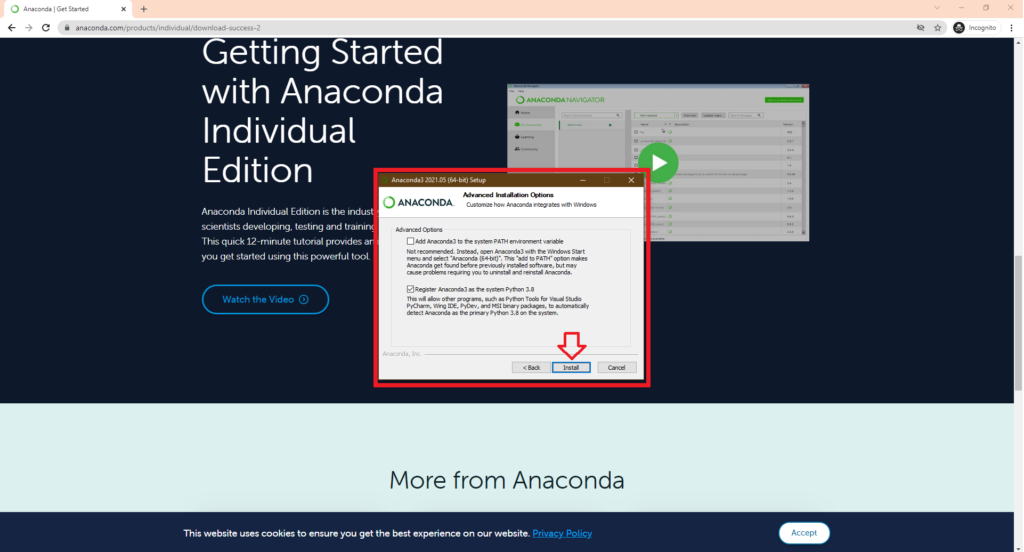
Step 9: Choose preferred Option in Anaconda Installation
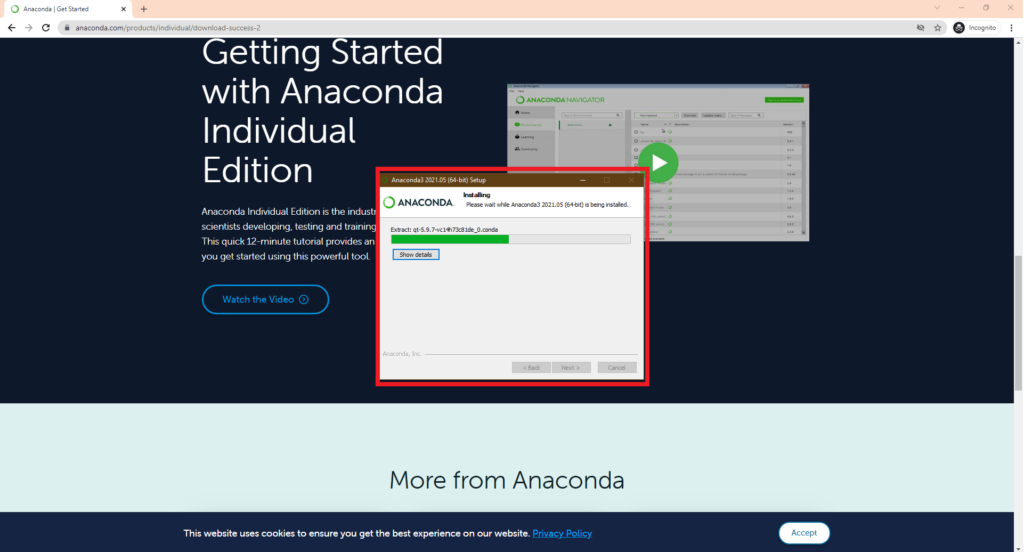
Step 10: Wait till the installation is complete
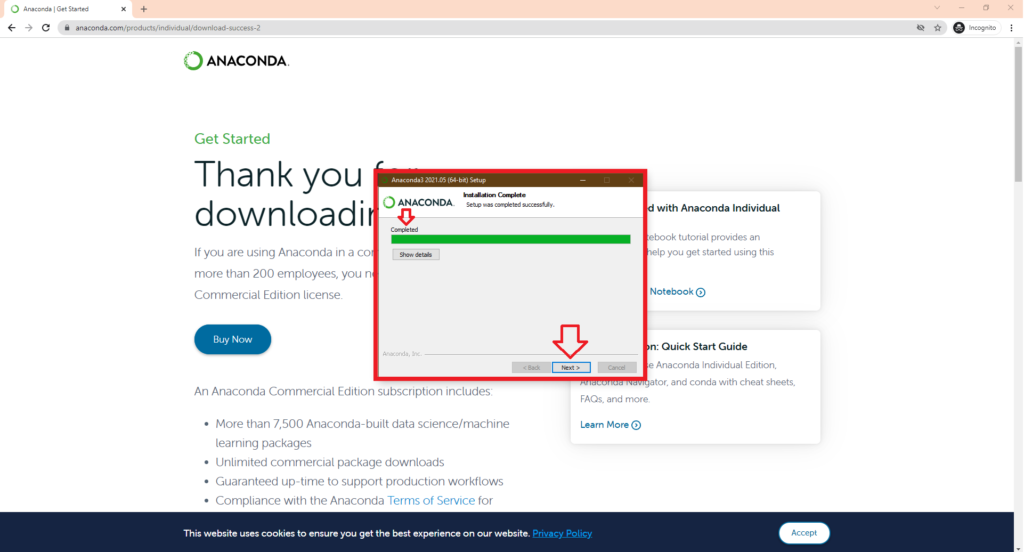
Step 11: Installation Completed and Click Next
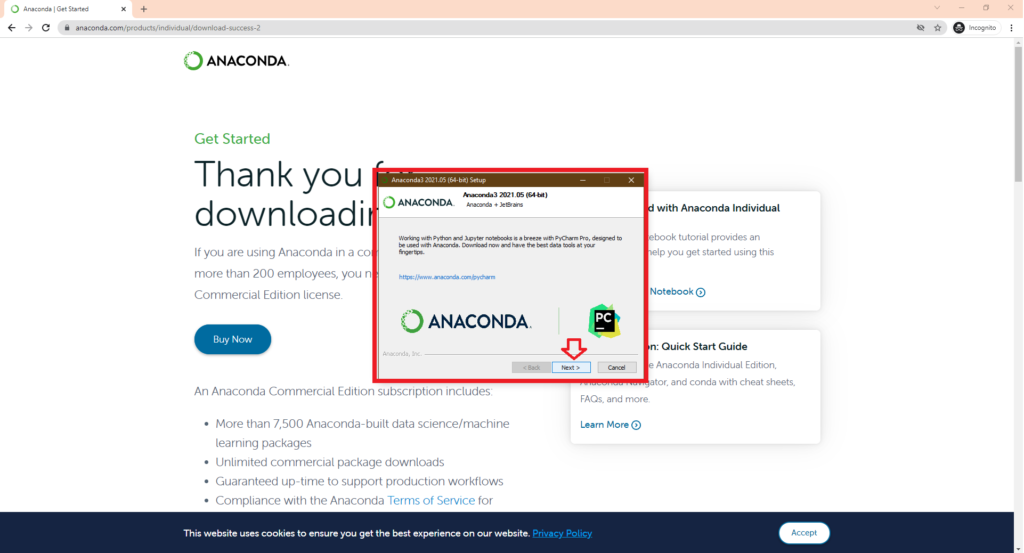
Step 12: Click on Next in the Installation Screen
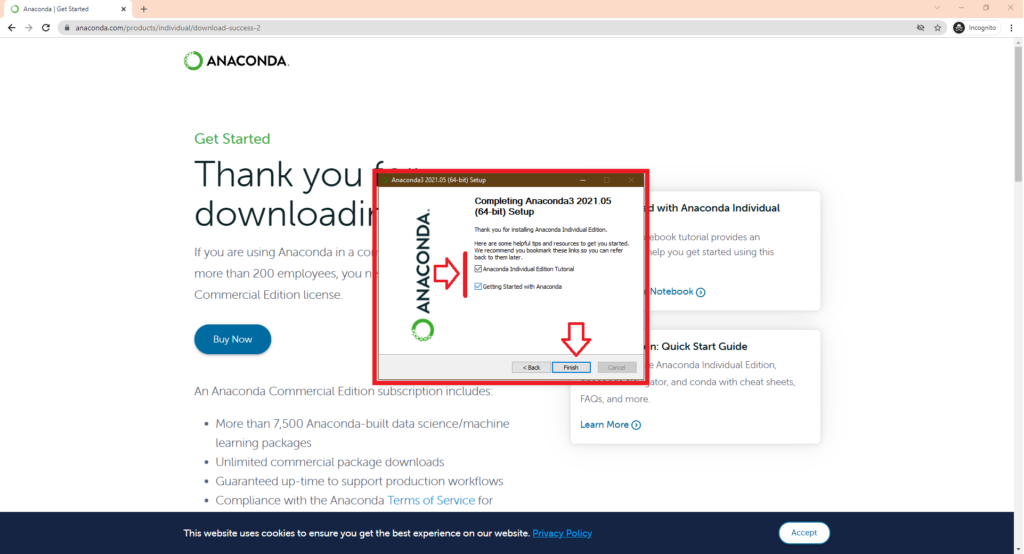
Step 13: Click on Finish Installation
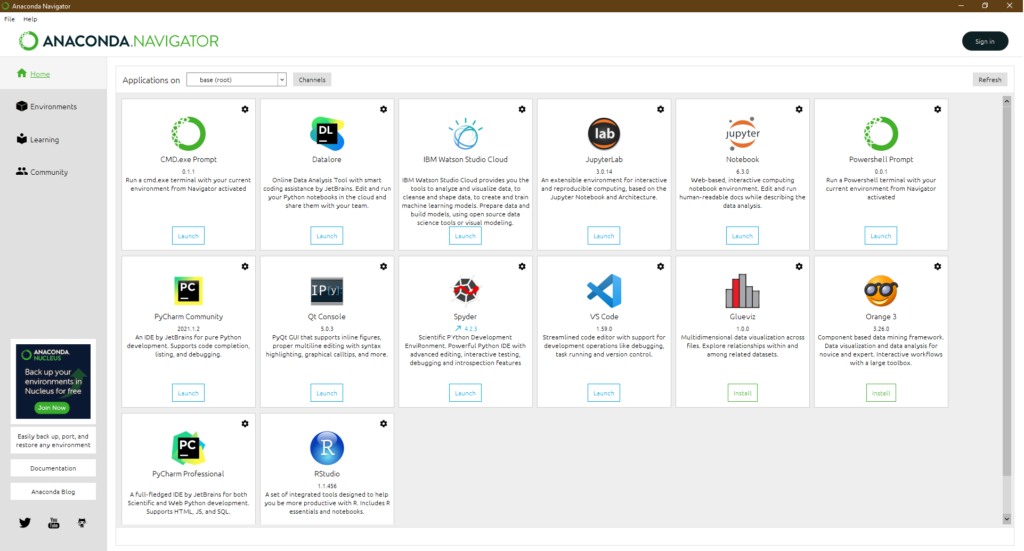
Step 14: Open Anaconda
Now that you have successfully completed Python Installation, you can also check our post on Installing Python for Analytics. Also check our course for Python Analytics from Ampersand Academy.