Learn to Implement Fab to Toolbar in your Materialize Project
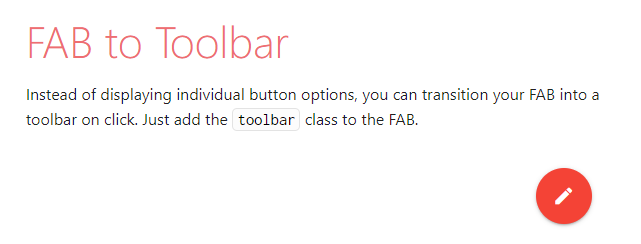
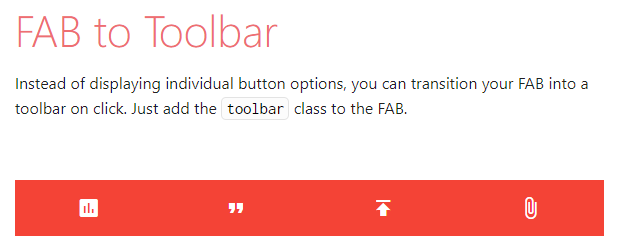
FAB button is one of the most intriguing features available in the Materialize CSS framework. The fun part is there are varieties of FAB button in Materialize CSS including Horizontal FAB, Click-only FAB and FAB to Toolbar. Each FAB variety has its purpose. Web designers use FAB to show the underlying buttons intuitively instead of the conventional type.
In this tutorial, we will discuss how to implement FAB to Toolbar feature in Materialize CSS project.
For this first, we have to use a Materialize CSS boilerplate template with the latest CDN files. After adding the boilerplate template, you can go to the Materialize CSS framework site and navigate to the FAB section and locate the FAB to Toolbar. Copy the HTML coding and paste it into your project file. Here’s the link to Materialize FAB official Documentation and Materialize Starter Template
<div class="fixed-action-btn  toolbar">
  <a class="btn-floating btn-large red ">
    <i class="large material-icons">mode_edit</i>
  </a>
  <ul>
    <li><a class="btn-floating"><i class="material-icons">insert_chart</i></a></li>
    <li><a class="btn-floating "><i class="material-icons">format_quote</i></a></li>
    <li><a class="btn-floating "><i class="material-icons">publish</i></a></li>
    <li><a class="btn-floating "><i class="material-icons">attach_file</i></a></li>
  </ul>
</div>
The next step is to add the Javascript functionality to the project. You can add the following Javascript inside the script tag and place it at the end of the close body tag.
<script>
        document.addEventListener('DOMContentLoaded', function() {
    var elems = document.querySelectorAll('.fixed-action-btn');
    var instances = M.FloatingActionButton.init(elems, {
      toolbarEnabled: true
    });
  });
        </script>

Et voila! We have successfully implemented FAB to Toolbar in our Materialize Project. Learn how to create Login and Registration Form in Materialize CSS
