Learn Adding Logo to the Navbar in Materialize CSS and implement in you website and web applications
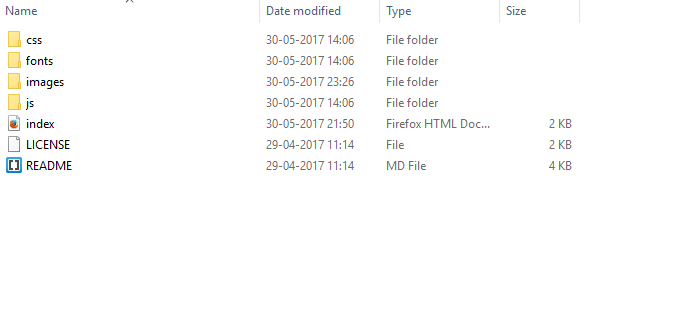
In the previous tutorial, we discussed how to create Navbar using Materialize CSS Framework. If we explore the coding involved in the Navbar, there is an individual component named Logo. The Logo mentioned there is just a text and this can be changed to the image. Most of the Clients will be having their company logo, which can be added in this section. In order to demonstrate, how to add an image logo in the navbar, we have created a dummy logo and added it to the Project Folder. Usually, the logo image can be in the following formats: jpg, jpeg, png, or SVG.


Now that we have a sample logo in our images, we can change the Logo text to a sample logo image.

Here <img> tag is used to insert the logo file. Furthermore, in order to control the width and height of the logo, width and height classes are used. The width and height can be adjusted according to the requirement.

Now we have the logo in our Navbar
